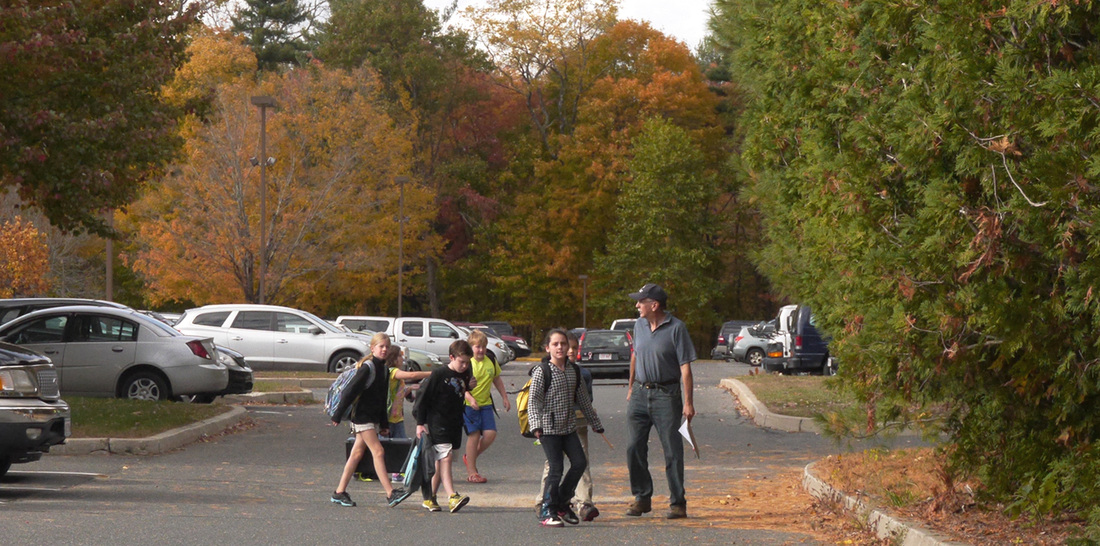
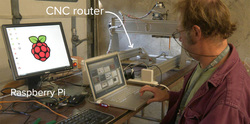
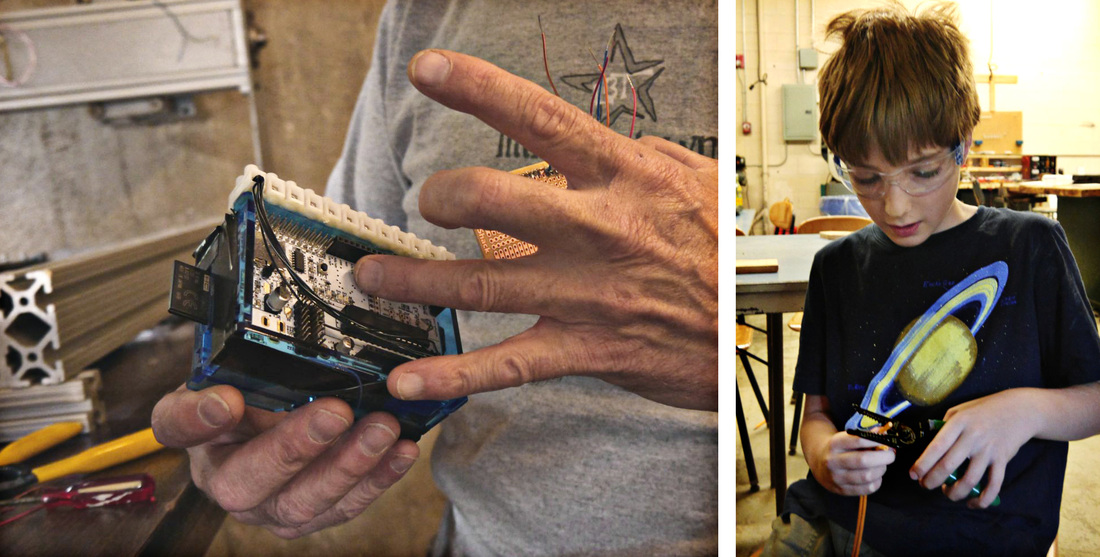
Paul escorting some of the Tuesday-Wednesday MakerKids to our makerspace.
During our first week, the concept for the Bird Feeder Project was introduced. We spent time brainstorming ideas to incorporate in our feeder designs. The project called for the use of wood and metal in the design, but other materials can also be employed.

We brainstomred ideas/design features to conmsider incorporating in our bird feeders. When brainstorming, there is no such thing az a bad idea.
We spent time brainstorming ideas to incorporate in our feeder designs. The project called for the use of wood and metal in the design, but other materials can also be employed.
WEEK 2
Now, in Week 2, work on the bird feeders began in earnest.
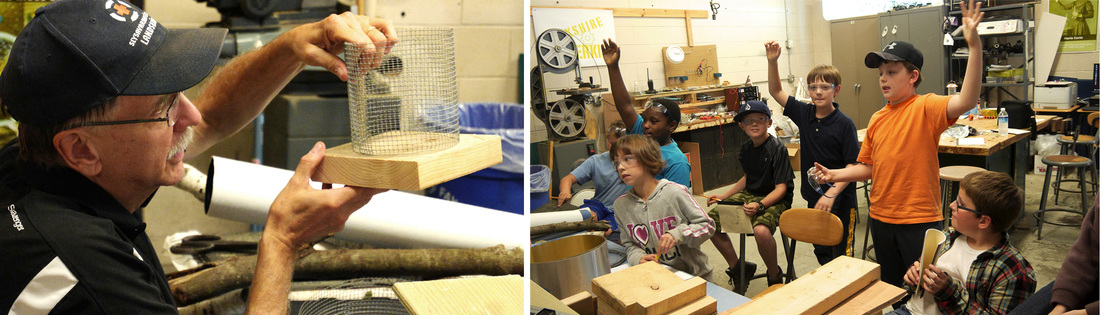
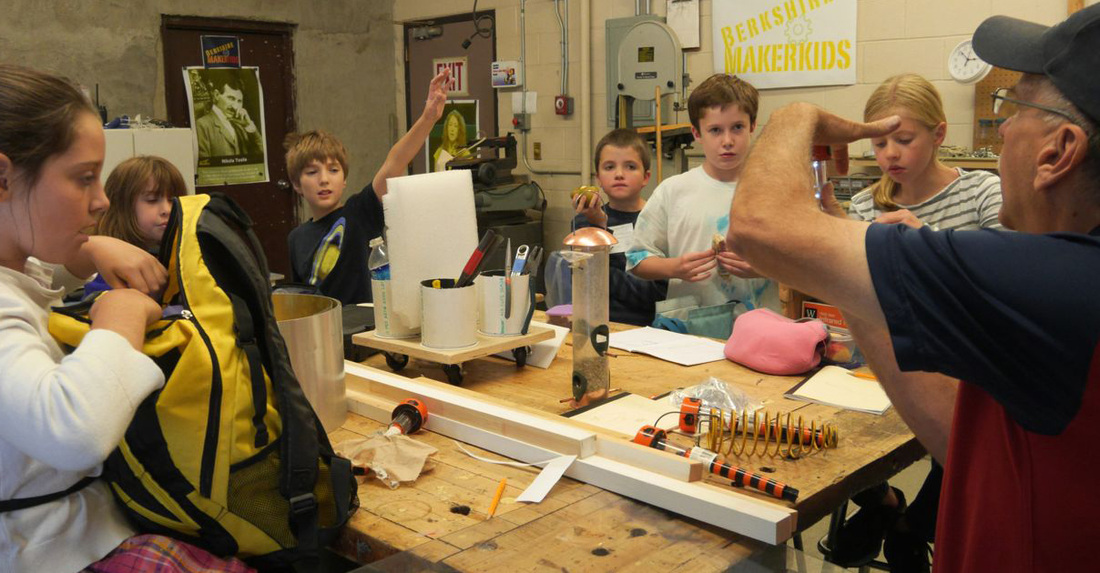
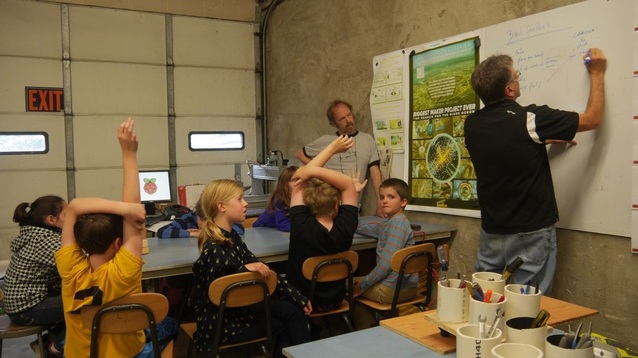
Paul and the MakerKids trade ideas about bird feeder design,
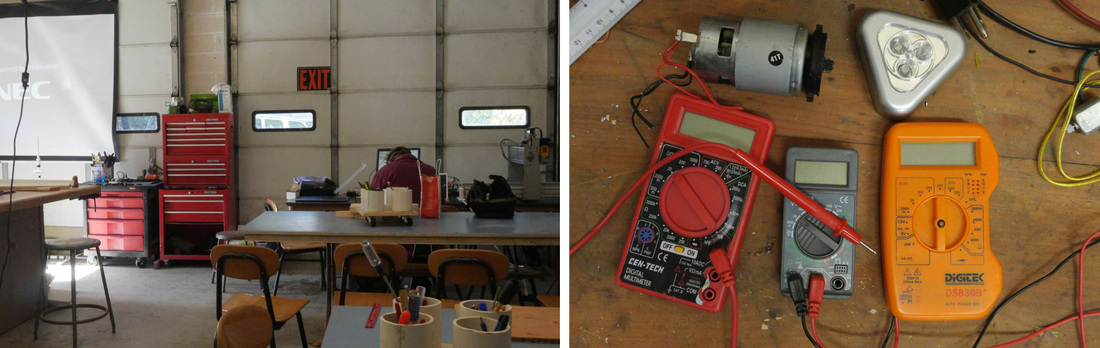
The first step was a review discussion of desirable design features. The mentors set up a table displaying materials other than wood and metal that that could be used: PVC pipe, wire mesh, flexible tubing, roofing shingles, and plastics.
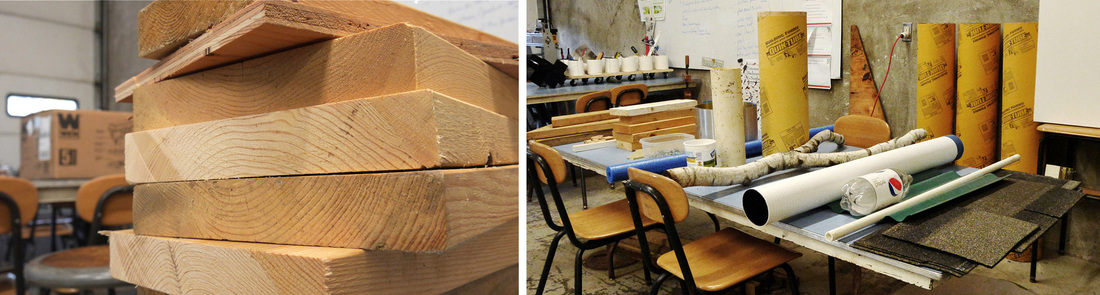
Some of the wood that can be used for the feeders. The "other materials" table with a selection of options in addition to wood and metal.
We showed some images of a design one of the mentors worked up in sketch for. The purpose was to get the MakerKids thinking about the design process, not to copy the design itself.
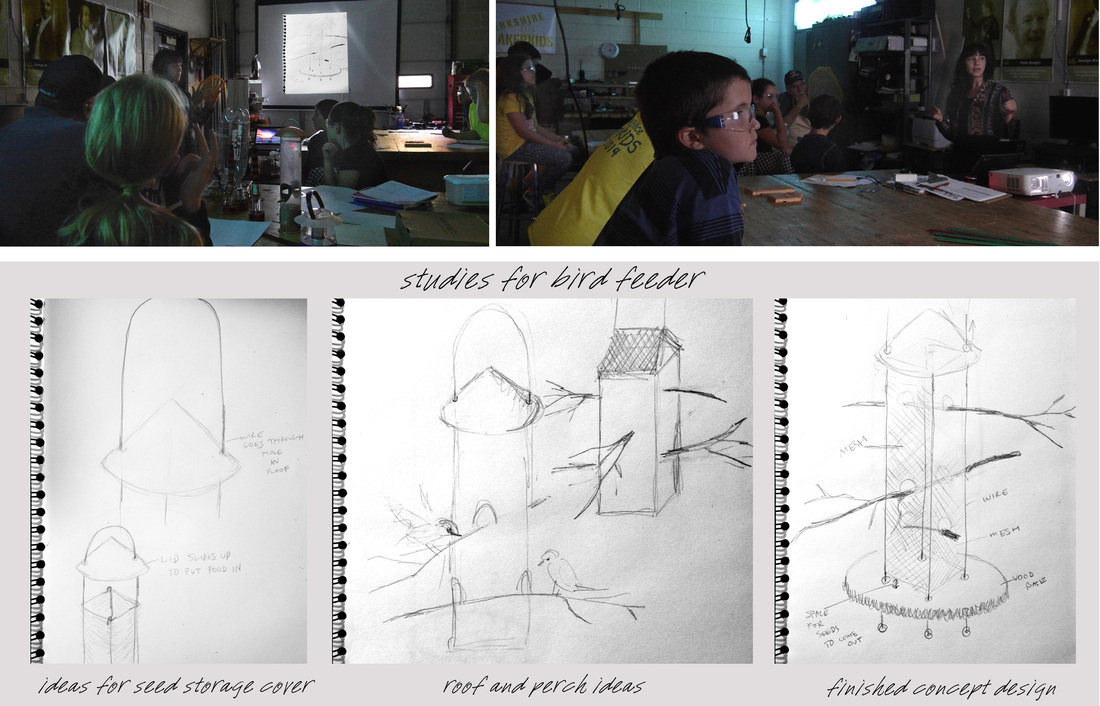
Nicole "presented" her design ideas to the MakerKids and explained how she worked up the details of the feeder design and arrived at a design concept she liked.
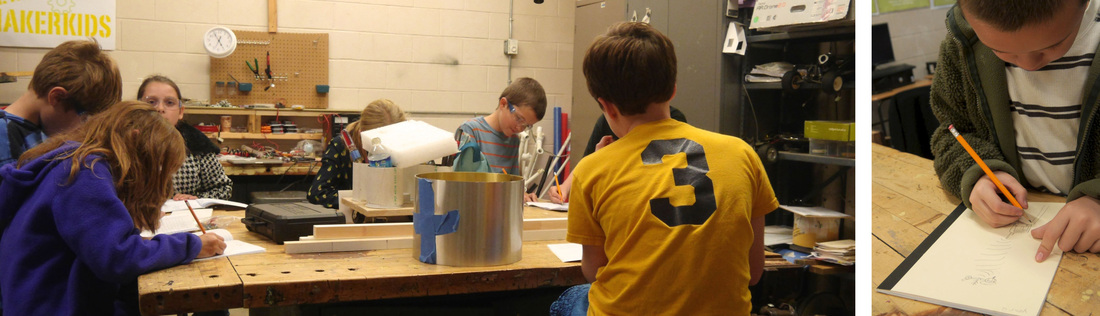
Then the MakerKids began sketching their ideas. Once the sketches seemed to be working, it was time to begin creating paper prototypes.
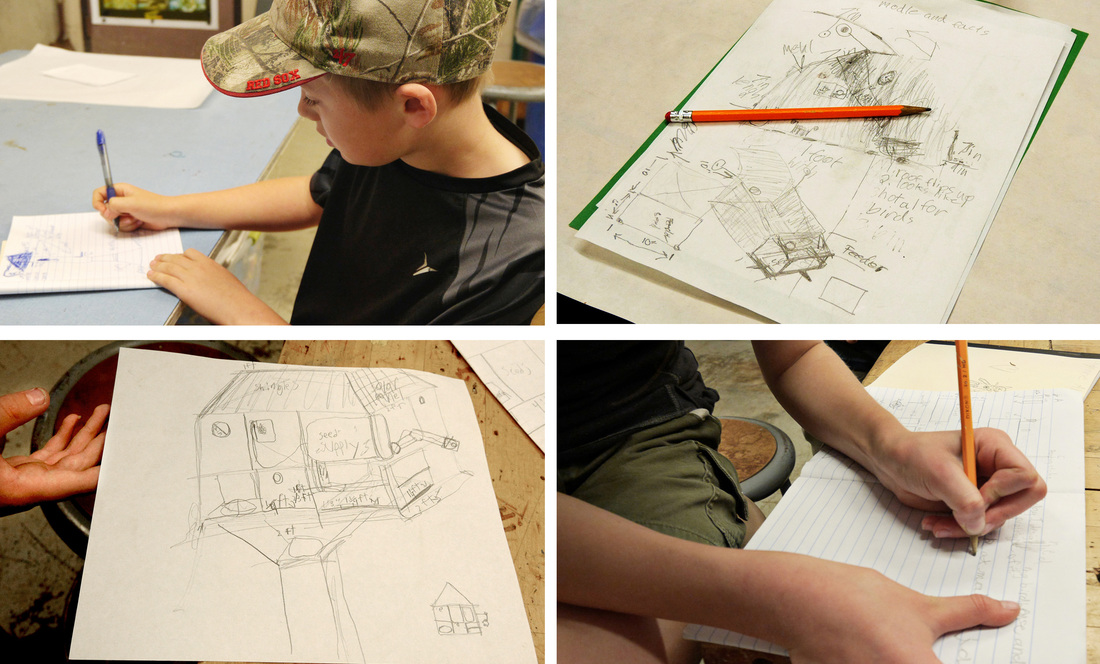
Developing the skill to express an idea in a drawing is an important making skill. In fact, it has great application far beyond making. We encourage our MakerKids to work in this.
Prototyping allows us to clearly visualize the scale and overall shape of the finished design. It’s an important step in the design process that allows us to actually see the design in three dimensions without spending significant construction time or using costly materials.
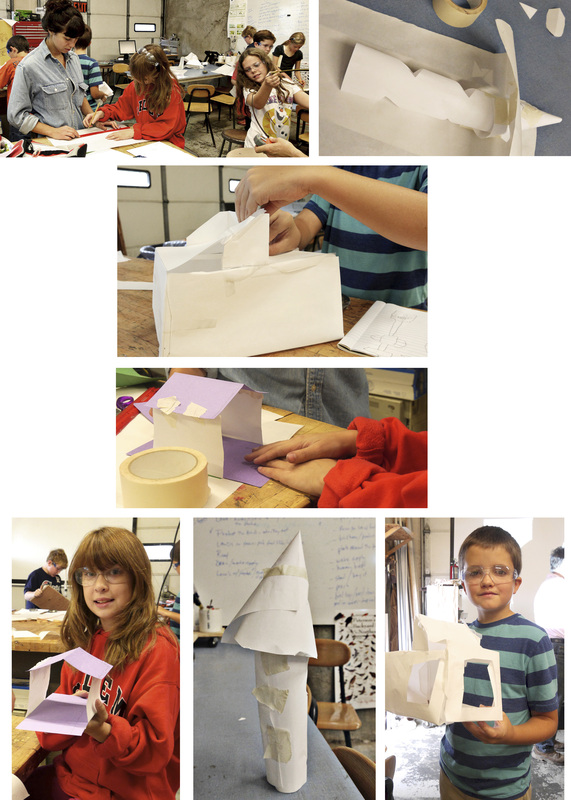
Making paper prototypes involves translating a rough concept sketch into a 3-dimensional model that is measured roughly to the same size (or scaled to correspond to) the finished design.
Going directly from rough concept sketch of a bird feeder to a finished product made from wood and metal is too big a leap and usually results in a finished product that could have been better with more thought and planning. The use of prototyping will be a regular step in our design development process.
Each MakerKids completed a paper prototype and then discussed their overall design ideas and choice of materials with the mentor team.
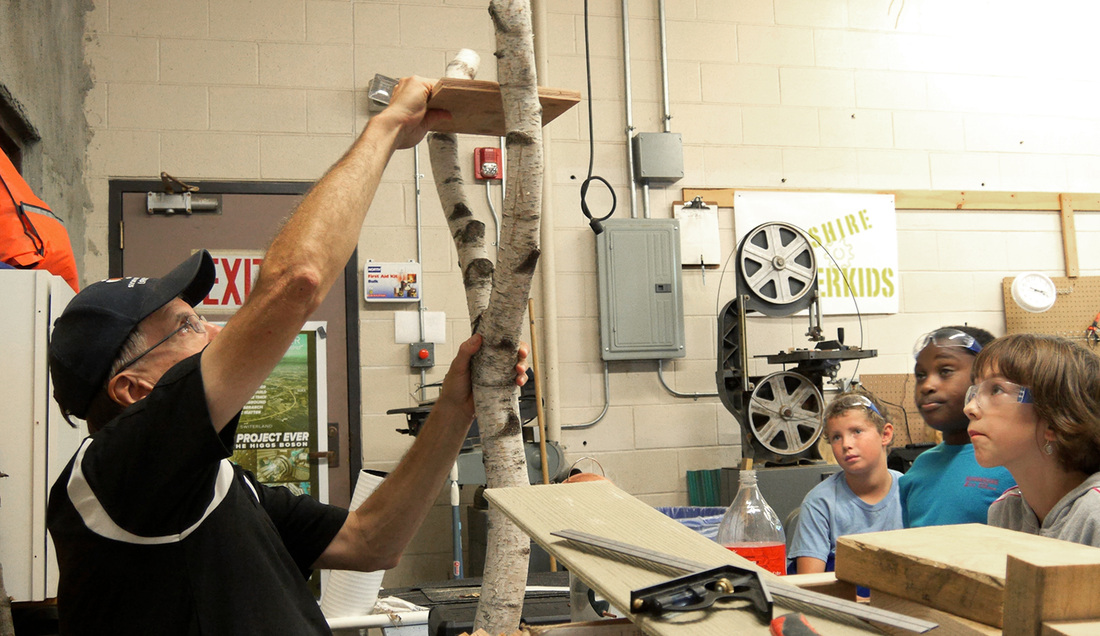
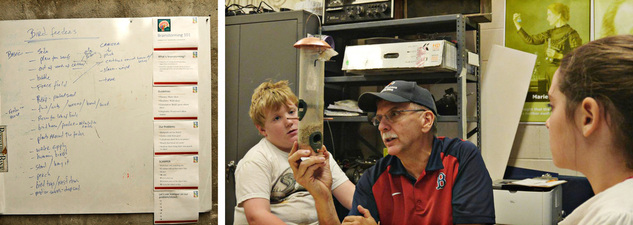
Paul and MakerKids exchanging ideas about the use of unusual materials to make a unique feeder design.
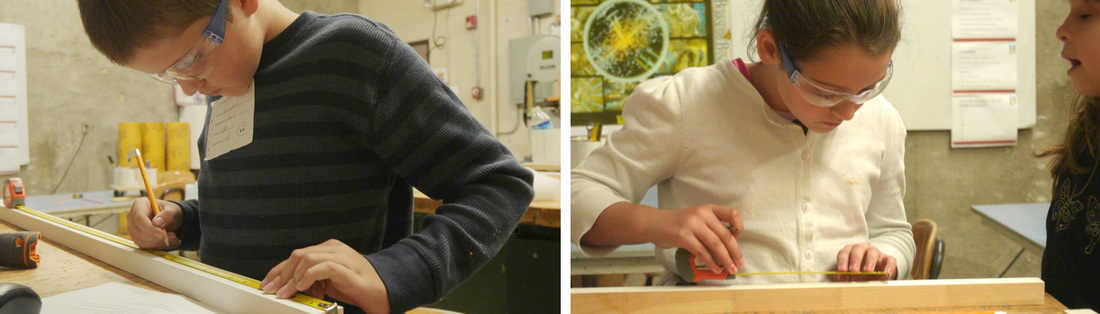
Then, it was time to transfer the dimensions from the prototype to the materials that would be part of the finished feeder to be used as the base, walls, roof, perches, seed storage area and so on.

MakerKids take measurements off paper prototypes and apply them to the wood pieces they have selected for their feeders.
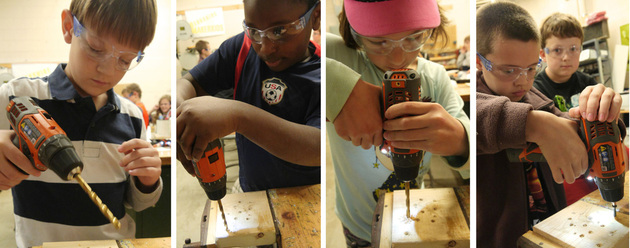
Cutting of wood and metal components was done by the MakerKids with close supervision by the mentors. In some cases, cutting required the use of an electric jig saw which was done by a
mentor.
mentor.
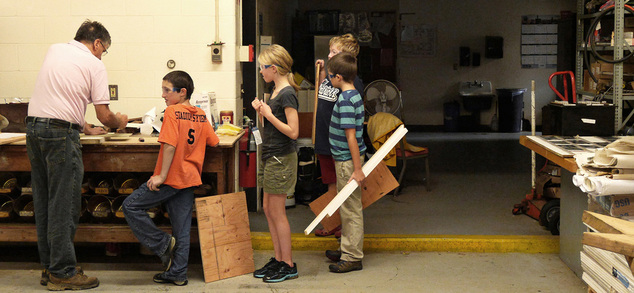
MakerKids with carefully measured wood elements for their feeders are lined up for Paul to cut them out with our electric jig saw.
As our Week 2 sessions came to a close, many MakerKids had most or all of the pieces needed to assemble their bird feeders cut out and ready to put together.
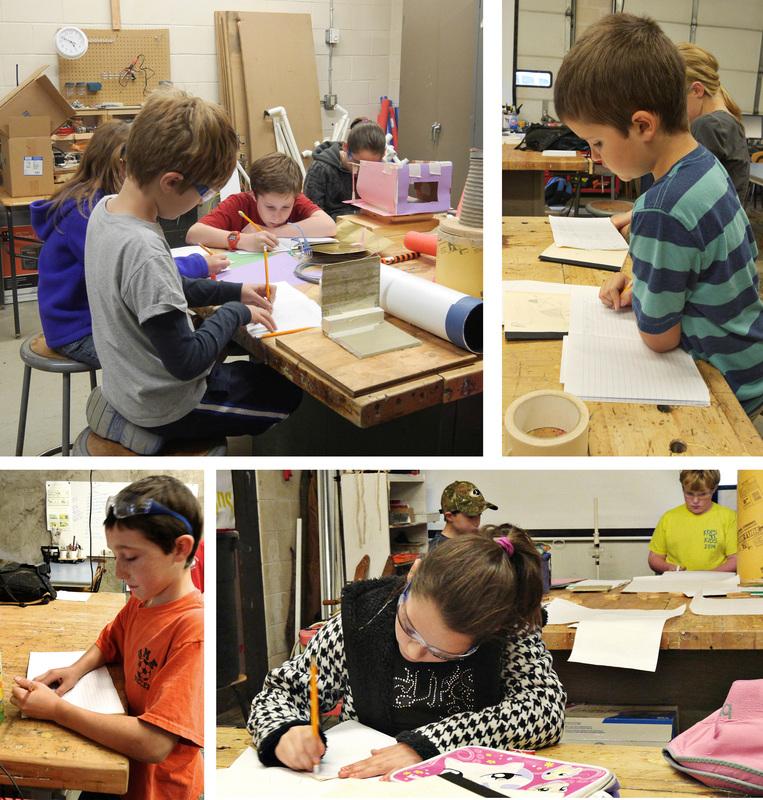 MakerKids writing in their journals. Many are making lists of what they will need to do when they return next week.
 As is our practice, each session ends with the MakerKids spending time writing in their journals.


 RSS Feed