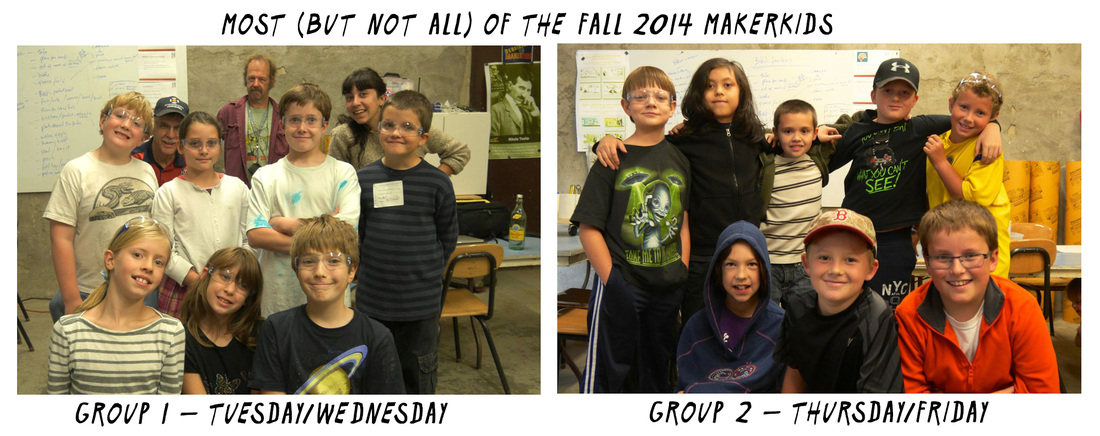
Well, our first week back in the Makerspace for the fall 2014 term is now behind us. We'd say it was a success! We have 23 returning MakerKid “veterans” from the program we began last year and all were eager to get to work!
A discussion and Q & A on plans for this year's MakerKids program.
You might know from reading elsewhere on this website (if you are not a MakerKid parent) that we have gone from a 1-day-per-week program to 2-days per week. There are 12 MakerKids in the Tuesday/Wednesday group, and 11 in the Thursday/Friday group. It’s too early to tell with certainty, but we are confident the addition of a second day each week will result in a deeper richer program
A few shots illustrating our new ly improved and reorganized Makerspace and some new of our new tools and equipment.
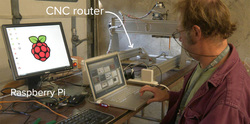 Peter working on setting up CNC router.
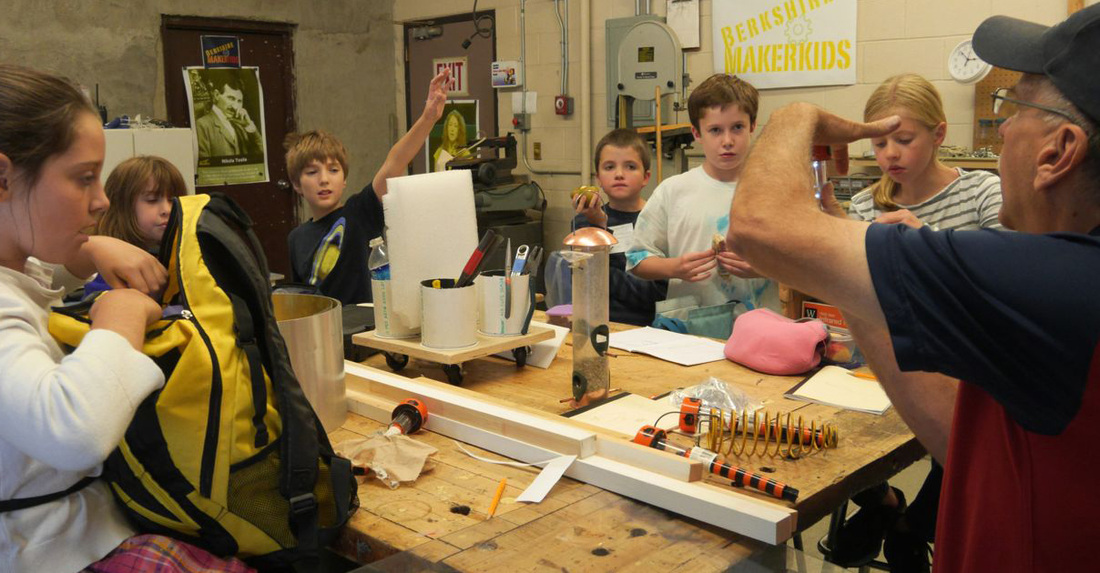
 We began the first session with a brief tour of our new reorganized Makerspace. Since the end of the last school year, we have had an infusion of funding: from the school administration and a successful grant award from the Eagle Fund. This has allowed us to purchase much a number-needed hand tools, electric tools and materials.
As a result, we rearranged the space in what we think is a more efficient way. We now have a dedicated electronics bench and a well organized area for hand tools and three work-group tables.
One of our mentors, Peter Lindstrom, is an expert in electronics and is lending us a working CNC router that we are eager to put into use. In the tools department, our future wish list includes a 3-D printer and a laser cutter (if anyone wants to donate toward either we’d be really grateful).
 A video from the extraordinary web learing resource, the Kahn Academy.
 We showed a wonderful video made by the Kahn Academy, titled “You Can Learn Anything” – a philosophy we enthusiastically subscribe to! We consider it exceptionally inspirational and think you will agree! Here is the link.
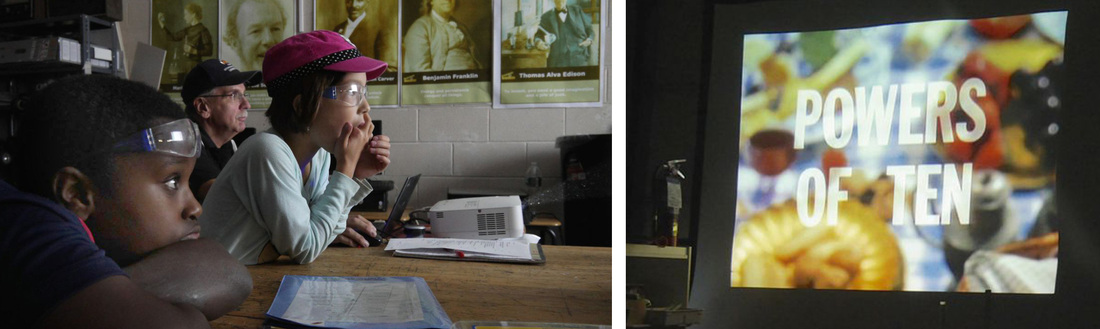
MakerKids watch Charles Eames Powers of 10 video.
We discussed the concept of scale and the use of powers of 10 as a means to compare the relative sizes and distances of things. We also showed the famous Charles and Ray Eames Powers of 10 Video made in 1977. Click here to watch.
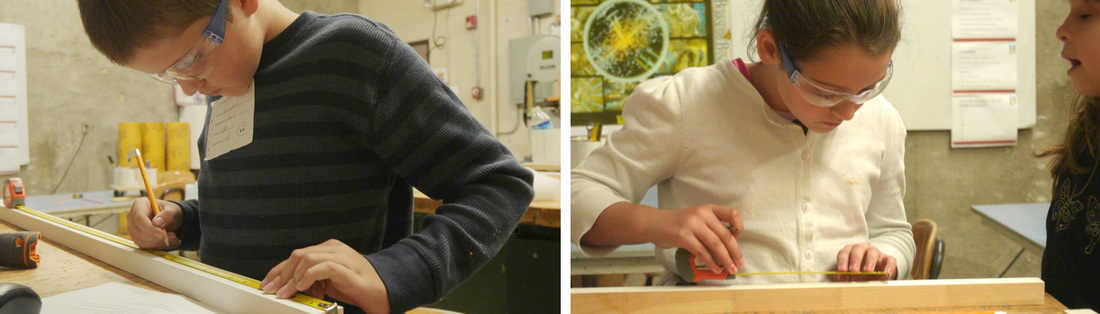
MakerKids demonstrate their measuring skills.
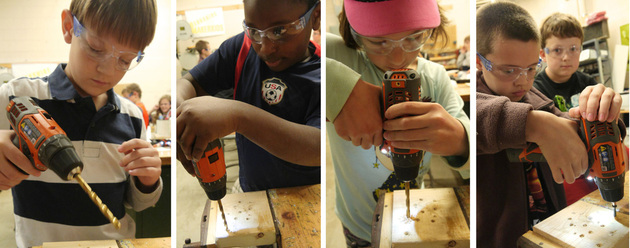 MakerKids practiced with electric drills, hand saws and powered jigsaw.
 Our first activity was instruction in carpentry and electronics, with exercises to build skills in both. The MakerKids practiced their measuring skills and worked with hand saws and electric drill used for drilling holes and screwing in screws.
Our first activity was instruction in carpentry and electronics, with exercises to build skills in both. The MakerKids practiced their measuring skills and worked with hand saws and electric drill used for drilling holes and screwing in screws.

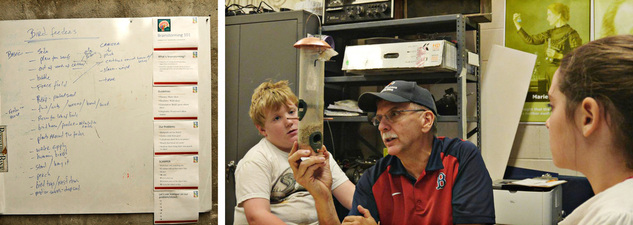
Mentor Peter demonstrates soldering, MakerKids practice their soldering skills.
They practiced stripping insulation off coper wire, using the soldering iron for joining wires. One of our mentors began explaining the function and use of micro controllers like Raspberry Pi and Arduino. Mastering wood working tools and gaining competency in basic electronics are key goals for the program.
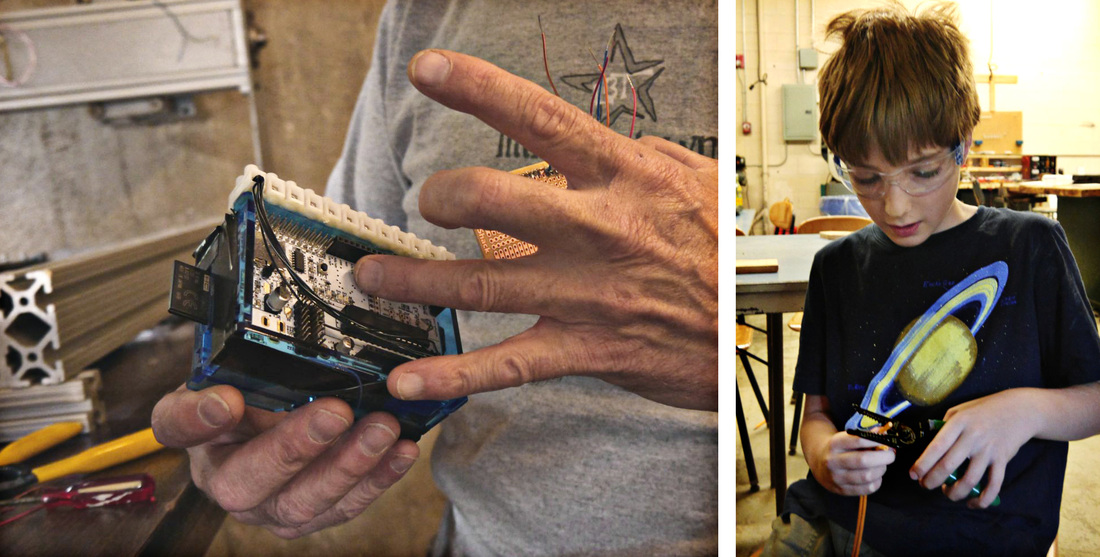
Peter points out the features of a Rasphberry Pi board. MakerKid strips insulation off wire before soldering.
First Project of the Year
Our first project for the year is a Smart Bird Feeder. We expect this project will take at least 3 weeks to complete and involve carpentry, metal work, and electronics.
Our first project for the year is a Smart Bird Feeder. We expect this project will take at least 3 weeks to complete and involve carpentry, metal work, and electronics.
Here’s a description of the Smart Bird Feeder project. Each MakerKid will design and build a bird feeder to take home when completed and install somewhere in their yard. Wood and metal are specified as materials must be used in the design and construction (bringing into play carpentry and metal work). If desired, MakerKids can also incorporate other materials such as plastic, recyclables, and so on.

A smart bird feeder that sents video images to a remote locating wirelessly.
A key project goal is the inclusion of electronic component(s) that facilitate communication some information from the feeder to a distant location – inside one’s home, for example.
One bird feeder will also be designed and built by the group for installation on the Undermountain campus in the proximity of the 4th and 5th grade classes. This feeders will have more elaborate electronics – perhaps including a webcam.
We spent a good deal of time discussing sbirds and bird feeders and brainstormed what would make a good feeder. This discussion and the criteria derived will inform the design process.
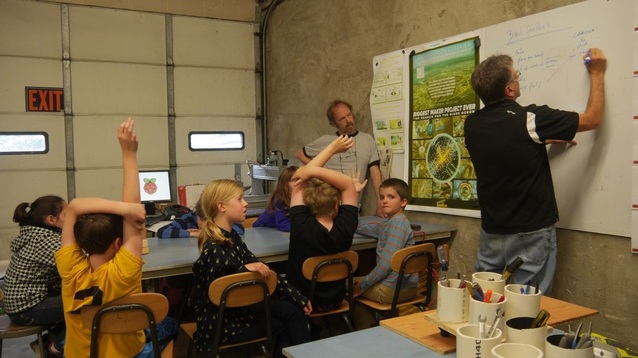
A brainstorming session in progress.
 A list of attributes of a good bird feeder. Paul uses a simple bird feeder to point out key features.
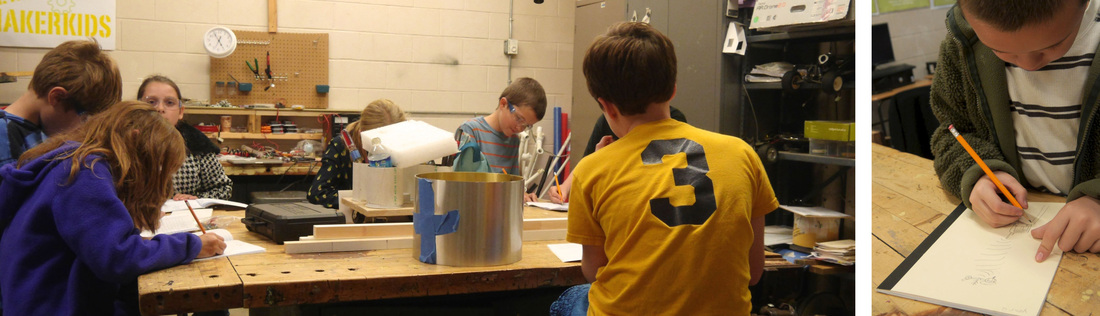
 After brainstorming, each MakerKid began sketching ideas for their individual feeders. This process will be continued in Week 2. The mentors will meet with each MakerKid to discuss and evaluate their design and think about refinements.

Sketching design ideas in personal journal
PROJECT STEPS
1. Learn about local birds. Select birds you want to
have use your bird feeder
2. Research the ideal bird feeder for your birds.
3. Plan and design your bird feeder to fit your bird’s
habits and preferences.
4. Survey your house and yard. Pick a location for the
bird feeder.
5. Create a paper bird feeder. Remember, the design
must incorporate wood and metal materials.
6. Optional: Make a cardboard prototype.
7. Plan your final design. Include wood and metal.
8. Research and specify the “smart” technology.
There will probably be several options.
9. Build your bird feeder. Add “smart” electronic
components and complete wiring.
10. Write computer code that allows the electronic to
communicate with eachother. Test the electronics.
11. Take Bird Feeder home and mount in yard.
Connect electronics. Montor feeder and feeding activity.
12. At home: observe birds, record activity and make
field notes on bird behavior aroud the bird house.
Hook up the electronics.
13. Make a final journal entry on the project. Describe
results, and conclusions. Note your successes as
well as anything that could be improved upon if
you were to repeat the project.
If you are interested in learning about the project in detail, go to the MakerKids Project Info page by clicking here.
Journaling
It has been our practice to end each session with some time for reflection. MakerKids record their thoughts on what they did that day with a journal entry.
It has been our practice to end each session with some time for reflection. MakerKids record their thoughts on what they did that day with a journal entry.
Coming in Week #2
A metalworking exercise wil be part of Week 2’s activities. We expect more detailed planing will begin next week as well and the building of prototypes. Actual construction may begin next week, or begin in Week 3,
A metalworking exercise wil be part of Week 2’s activities. We expect more detailed planing will begin next week as well and the building of prototypes. Actual construction may begin next week, or begin in Week 3,
 RSS Feed